Welcome to RVForums.com

  • Register now and join the discussion
  • Friendliest RV Community on the web
  • Modern site for PC's, Phones, Tablets - no 3rd party apps required
  • Ask questions, help others, review campgrounds
  • Get the most out of the RV Lifestyle
  • Invite everyone to RVForums.com and let's have fun
  • Commercial/Vendors welcome

Found Crack In Fender

Welcome to RVForums.com

  • Register now and join the discussion
  • Modern secure site, no 3rd party apps required
  • Invite your friends and let's have fun
  • Commercial/Vendors welcome
  • Friendliest RV community on the web

BGMAC

RVF Expert
Joined
Jan 28, 2020
Messages
885
Location
Cypress Inn, TN
RV Year
2016
RV Make
Forest River
RV Model
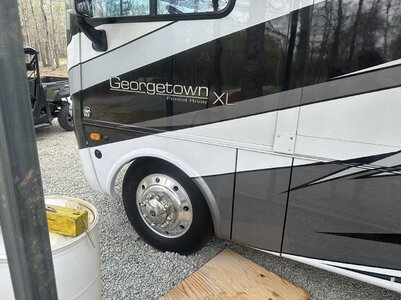
Georgetown XL M-369DS
RV Length
37ft
Chassis
F550
Engine
Titan V10
TOW/TOAD
2020 Polaris Slingshot
Fulltimer
No
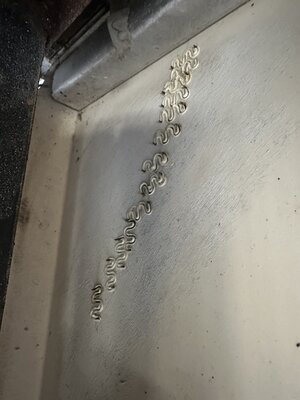
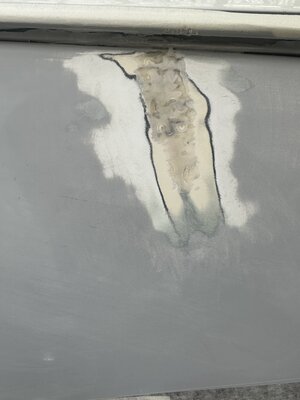
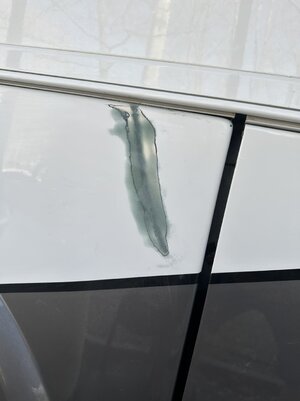
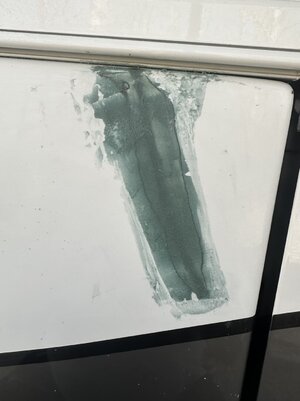
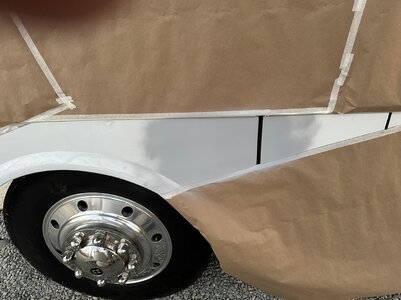
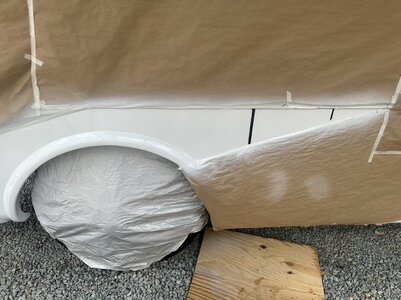
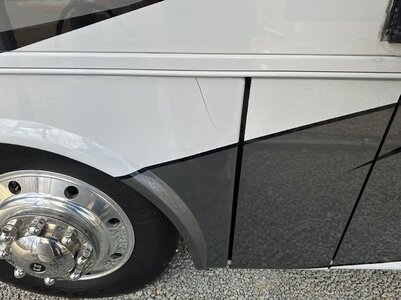
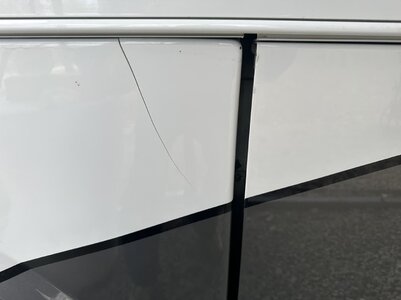
Doing some work around the shop and walked around the RV and looked down behind the front wheel. We had some extreme cold last night which is the only thing I could think of that caused the crack. The fender is plastic, not fiberglass. Guess I’ll figure out how to fix this now.
 

Attachments

  • 848D4291-D85D-4D1F-9523-FA2F97B473D1.jpeg
    848D4291-D85D-4D1F-9523-FA2F97B473D1.jpeg
    127 KB · Views: 10
  • 21A93134-B38B-4082-AEC8-F9974B799B0F.jpeg
    21A93134-B38B-4082-AEC8-F9974B799B0F.jpeg
    42.6 KB · Views: 9
Bummer! Anything of interest on the inside of that panel?
 
No, I never used one, but I’ve seen it used at body shops and can see the advantage of reinforcement. I’ll just have to take the front tire off to get in behind there.
 
Decided to fix myself. I am not a body or painter person, but I am cheap. :)

I bought a hot staple gun and used it on the back of the panel to hold the crack together. Then epoxied over it. On the upper part of the crack were I could not get to on the backside I used a few more staples and epoxy. Finished with a plastic body filler, primed and painted. I used lines in the body to paint to instead of blending the paint.

I'll let it dry overnight and then put the marker light back on.
 

Attachments

  • IMG_1958.jpeg
    IMG_1958.jpeg
    1.1 MB · Views: 17
  • IMG_1969.jpeg
    IMG_1969.jpeg
    1.1 MB · Views: 11
  • IMG_1957-compressed.jpeg
    IMG_1957-compressed.jpeg
    52 KB · Views: 10
  • IMG_1953-compressed.jpeg
    IMG_1953-compressed.jpeg
    70.6 KB · Views: 10
  • IMG_1960-compressed.jpeg
    IMG_1960-compressed.jpeg
    114.9 KB · Views: 10
  • IMG_1988-compressed.jpeg
    IMG_1988-compressed.jpeg
    149 KB · Views: 17
  • IMG_1989-compressed.jpeg
    IMG_1989-compressed.jpeg
    180 KB · Views: 17
Nicely done! Did you use base coat/clear coat?
 
Nicely done! Did you use base coat/clear coat?
No, single stage, but they gave me some different reducer or hardner that gives a clear coat shine. I’m stupid with painting as I told the paint supplier, but I follow instructions well. Had my wife look at it when finished. She could not tell the difference between the old and new. I’m shade blind.
 
That’s what I’ll do if there is a next time - I used base coat - clear coat on a repair and it was a hassle and didnt come out that good.
 
Man... you did good! Nice job!!
 

Latest resources

Back
Top