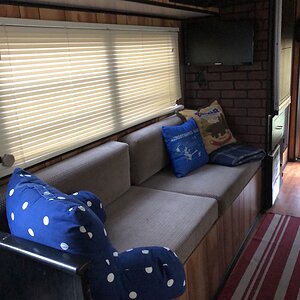
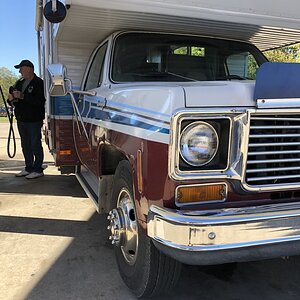
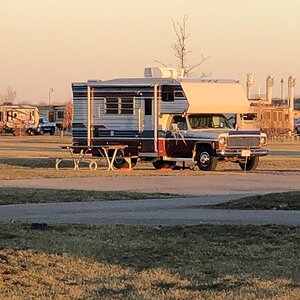
2002 Tiffin Allegro gas unit (no slides)…
I keep finding problems from its past…
Closer inspection showed the release valves for the waste tanks with some damage—mainly the black tank. After removing them and get closer look, it appears the driver’s side rears had a blowout and crumpled the wheel well liner up and against the bottom of the black tank. It made a slight dent or hump in the bottom but it caused a busted/cracked area in the side, and just above the bottom crease of the tank. I’ve melted/welded the area closed again and planning to cover it more with a mix of ABS glue, glue mixed with bits of ABS, and a layer of screen wire. I THINK that might be the extent of the damage but hard to know for sure unless I could pull the tank. And THAT appears to be a rather difficult job.
(Each tank is the length of the width of the coach, about 24 or so inches wide, and between maybe 4 to 8 inches in height. They both sit on top of a “channel” that runs lengthwise , and almost touching the underside of the flooring above. The gray tank was first to access so I pulled it out to make room to get to the black tank. And the black tank is recessed toward the front of the coach with only about half of it exposed as it sits. To remove it I’d have to somehow disconnect the vent, which is at the far end of the tank, and the toilet, which is nearest to the opposite/valve end. Also, it’s outlet is considered “left side” which it toward the rear.
I’d really like to replace it, but they’re not cheap for sure. And there’s the issue of getting to the vent and all that. Plus putting it back together…
On the other hand, if this weld fix holds up, it would be easy. (Tank has been empty for so long it looks like a dusty prairie looking into the outlet) Then I plan on filling it with water to test the whole tank.
Opinions??
I’m not a full-timer…just bought to make a short hop every-so-often with the wife and maybe grandkids/families…
Last edited:


