roses0096
RVF Newbee
- Joined
- Jun 7, 2021
- Messages
- 2
- RV Year
- 1985
- RV Make
- Sportscoach III
- RV Length
- 33ft
- Fulltimer
- Yes
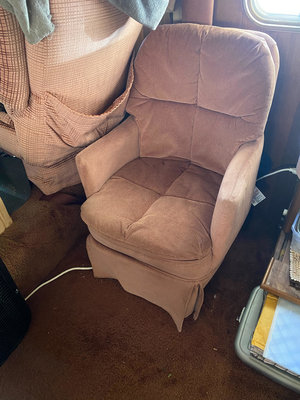
Hello! Just picked up a 1985 Sportscoach III and have been making some modifications to it. My next modification includes removing a swiveling lounge chair in the living room area. Not the passenger/shotgun swiveling seat, but the smaller recliner on the floor right behind it.
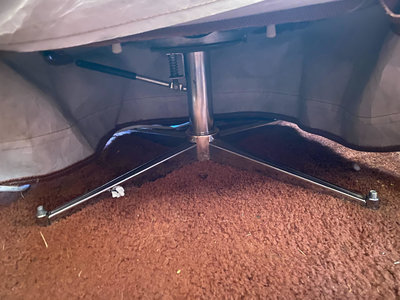
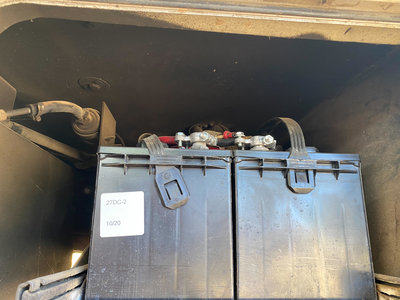
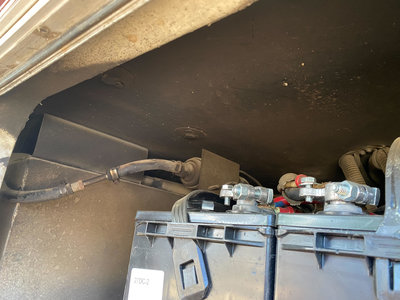
I thought it was as simple as removing the 4 nuts and lifting it off the bolts. I do no need to remove the bolts as my modification will be built around/over them. After some tugging and it not budging, I did some researching and found a source that advised to check the area outside immediately underneath to see if there are other screws/bolts holding it in from there - the RV batteries are located directly underneath this chair.
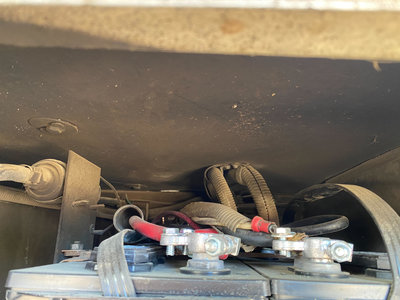
However, there are no visible screws/bolts holding the chair in place from the inside that battery compartment. The only screws that are there are holding (I believe) a little side table located between this chair I'm trying to remove and another chair to the right identical to it - I don't plan on taking out that side table.
Any advice on how to move forward? Thanks in advance!
I thought it was as simple as removing the 4 nuts and lifting it off the bolts. I do no need to remove the bolts as my modification will be built around/over them. After some tugging and it not budging, I did some researching and found a source that advised to check the area outside immediately underneath to see if there are other screws/bolts holding it in from there - the RV batteries are located directly underneath this chair.
However, there are no visible screws/bolts holding the chair in place from the inside that battery compartment. The only screws that are there are holding (I believe) a little side table located between this chair I'm trying to remove and another chair to the right identical to it - I don't plan on taking out that side table.
Any advice on how to move forward? Thanks in advance!