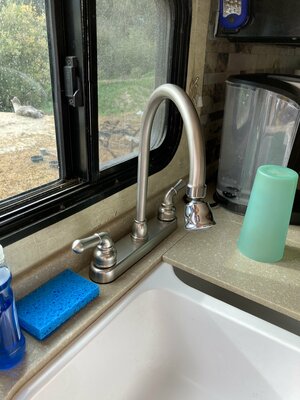
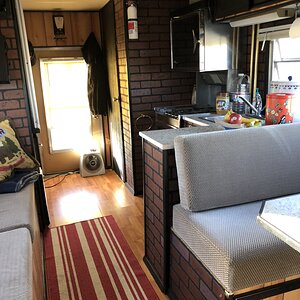
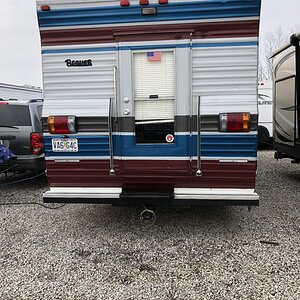
2015 leprechaun 320bh. How do you remove the faucet when it’s not part of the sink but through the back on the counter. Do I have to remove the whole sink to get to the faucet
Disconnect the hoses and run a sink wrench up them to loosen the nuts below the faucet. You will have to be able to get inside the cabinet somehow and if you can't reach the nuts then you might have to take the top off. Should be able to reach under and get it done.
Turn off the water and try turning the outside rings on the black piece under each faucet outlet. Might be able to loosen them by hand and get the old faucet out.
Since they used crimp clamps on those fitting you‘d have to get in there and cut them off somehow to disconnect the hoses. As Ringer stated it might be easier to remove the counter since that’s probably how they installed the faucet.
So you might be better off repairing the faucet in place if that solves the problem. Take off the handle by loosening an allen set screw on the back of it, then you’ll see how the internals are removed. You can buy a kit containing the cartridge and o-rings for around $10 (or post BS covid inflation maybe $20) and its an easy fix.
Those black rings have tabs on them like a normal plumbing fixture so pretty sure they can just be unscrewed to remove the faucet. Might have to use a small wrench on them to start. I would not cut anything until you try to unscrew those fittings.
And if you do have to cut clamps, see if you can get to the other end of the hoses more easily - getting into that space to work will be a chore. Removing those plastic retaining nuts from the faucet looks like the easy part. I’d definitely look at repairing the faucet in place first. If its just that water leak, you might even be able to fix it by tightening the big nut that holds the cartridge in after removing the handle.
Your kitchen faucet is one of the most-used parts of your kitchen. Whether you’re buying or looking to replace parts, here’s what you need to know about it.
Today I'm recovering from all the contortions needed yesterday to replace our kitchen faucet. To set the stage, the sink is undermount and the access to the fitting is limited...the only way to see the fittings was through a mirror, and touching them was fingertip only. After two hours of wrangling, my (agile) son and I were able to turn on the water with no leaks.
This site uses cookies to help personalise content, tailor your experience and to keep you logged in if you register.
By continuing to use this site, you are consenting to our use of cookies.