flyboy013
RVF VIP
- Joined
- Jul 24, 2020
- Messages
- 475
- RV Year
- 2018
- RV Make
- Newmar
- RV Model
- Mountain Aire 4531
- RV Length
- 45
- Chassis
- Spartan K3
- Engine
- Cummins ISX12 (500HP)
- TOW/TOAD
- 2023 Jeep GC Summit Reserve
- Fulltimer
- Yes
After having the MADP for three years, I finally got around to doing my Sanicon discharge mod. During our getaway this past September & October, the Sanicon hose sprung about a dozen pinhole leaks which helped push me to getting this done. The electrical tape patches would only hold so well.
I had tried purchasing a new hose but none of the dealers had them in stock. I called Thetford to order a replacement, but since they apparently weren’t capable of “selling” me a new hose, they sent me a replacement hose free of charge. That was nice.
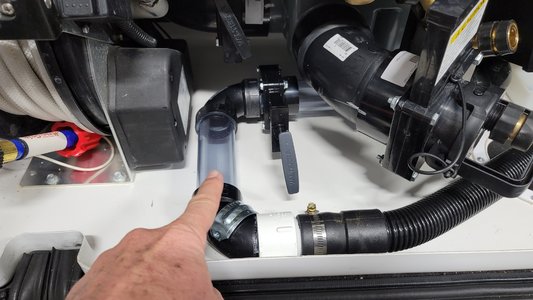
As many have done, I wrapped the hose in a PET sleeve and used heat shrink on each end. After removing the existing hose, I used some new hose, ABS pipe & fitting, and some Banjo fitting such that I now have a discharge connection on the outside of the coach just below the wet bay door.
In addition to fitting the original Sanicon sewage nozzle with a Banjo fitting I purchased a sewer cap, drilled a hole in it and added a Banjo fitting to it. I put this together so that instead of using the Sanicon nozzle with a sand bag on it to hold it into place, I could screw the cap into the campground’s sewer drain pipe and won’t have to worry about it coming out, especially when I’m remotely dumping the tanks from inside the coach.
The most difficult part of this mod was connecting the Sanicon discharge pipe (barb fitting) to the new waste valve. The barb fitting extends at an angle and I had to use a hose with some flexibility to make the connection. In fact, I had to heat up the hose with a heat gun to get the necessary flexibility to get things to fit.
In order to get some additional room between the Sanicon barb connection and the new valve, I 3D printed a new ring where the hose used to exit the floor of the wet bay. This allowed the pipe to exit the hole off-center giving more room and reducing the angle slightly.
I may still add a pipe or exhaust hanger to the pipe that’s under the coach, but its pretty firm as is.
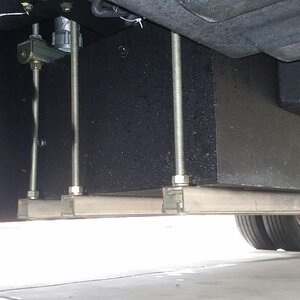
Here are a few pictures of the mod.
