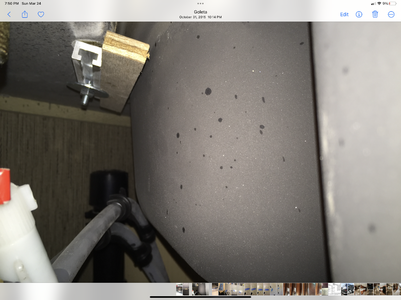
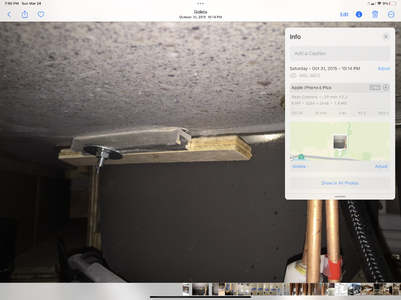
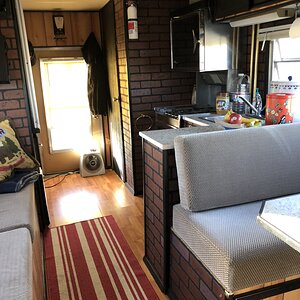
I noticed that the right rear corner of the sink in our 2018 Surveyor 220RBS was sagging. Looking underneath, I discovered the sink is held up only by these tiny screws shown below. I’m surprised it held on as long as it has. Disappointing, really.
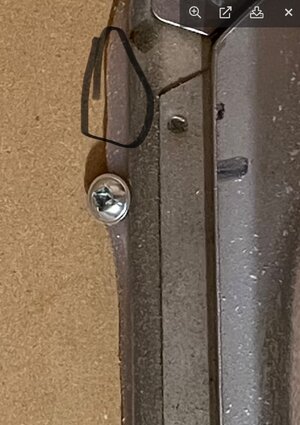
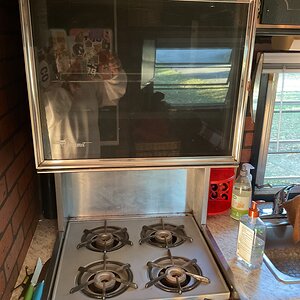
I would like to secure the sink properly, but it is impossible to reach back underneath to access it. I’m considering removing the countertop, but this seems like a daunting proposition. I could see some screws in the wooden cabinet frame that secure the countertop along the front and left sides. On the right side, near the stove, the cabinet frame is covered by a thin piece of trim paneling - I cannot see any screws for the countertop there. Are they on the outside of the cabinet, near the stove? If so, that means I need to remove the stove … damn.
Any thoughts?