- Joined
- Jul 27, 2019
- Messages
- 11,588
- Location
- Midlothian, VA
- RV Year
- 2017
- RV Make
- Newmar
- RV Model
- Ventana 4037
- RV Length
- 40' 10"
- Chassis
- Freightliner XCR
- Engine
- Cummins 400 HP
- TOW/TOAD
- 2017 Chevy Colorado
- Fulltimer
- No
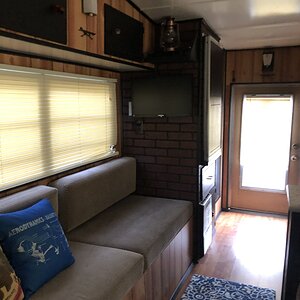
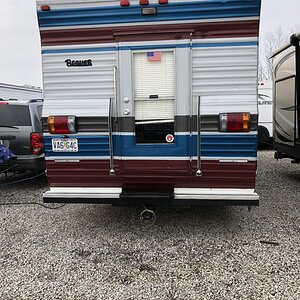
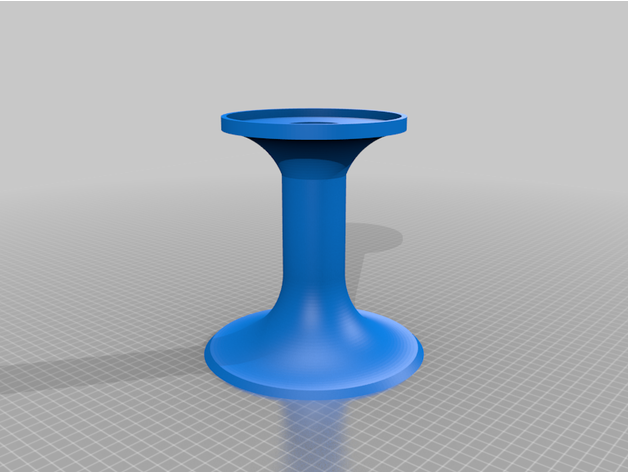
As I recently upgraded to a Pepwave MAX Transit CAT 18 cellular router and Pepwave antennas, one for cellular and one for wifi, I wanted to design a new antenna mount. The antennas come with mounting accessories to attach to a pole or wall of any sort so this is completely unnecessary but allowed me to do some therapeutic CAD design and 3D printing which is my hobby. I designed an antenna mount which I'll call a "tower" as the goal is to elevate this as I can't reach my airconditioner unit as the top shroud is my preferred mounting location but I don't want to add cable length from what came on the antennas which is 6.5 ft if I recall. In my previous panorama antenna mounts I put them side by side with about 10 inch separation which concerned me a little. This time around I want the two antennas to be at different heights so as not to obstruct any line of site coverage of the cellular antenna by the wifi antenna. Therefore I 3D printed two separate "towers" with the wifi tower being lower so the cellular antenna has a clear view at the mounting plane 360 degrees.
It's ready to mount so it will be put into use soon. 3M double-sided tape will adhere it so the fiberglass roof surface.
 www.thingiverse.com
Printed with Prusa i3 MK3S using PETG filament (prusament jet black), 15% infill, no supports needed. Print time: 19h

It's ready to mount so it will be put into use soon. 3M double-sided tape will adhere it so the fiberglass roof surface.
Pepwave Puma Antenna Mount by NealC
This is an antenna mount to go on the roof of my motorhome to hold a Pepwave Puma antenna, one for cellular (taller) and a shorter one for wifi. This will be mounted using 3M adhesive on the bottom of the mount. The antenna can be tacked in with double-sided tape, the included double-sided tape...
www.thingiverse.com
Printed with Prusa i3 MK3S using PETG filament (prusament jet black), 15% infill, no supports needed. Print time: 19h