MarkMaxPayne
RVF Supporter
- Joined
- May 24, 2023
- Messages
- 310
- Location
- Beaverton, OR
- RV Year
- 2013
- RV Make
- Newmar
- RV Model
- New Aire 3543
- RV Length
- 36'
- Chassis
- Spartan
- TOW/TOAD
- Fiat 500 Turbo
- Fulltimer
- No
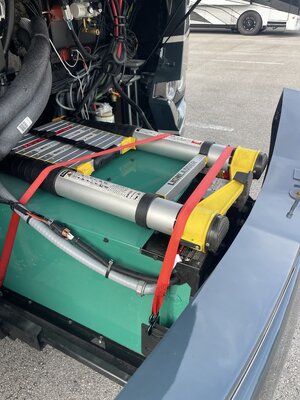
I've been storing a telescoping ladder on top of two plastic storage bins in the driver's side bay behind my inverters in my 2023 New Aire. The problem is that those are my storage bins for keeping all things black tank and additional fesh water seperate. Anytime I wanted to set up or break down the ladder is in my way.
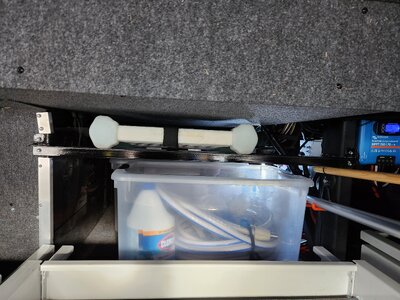
I had my son, who is taking welding classes, add a couple of small tabs to a piece of 1/8" thick angle iron that I picked up at Home Depot. I measured the outside width of the bay's star foundation uprights to the back of the bay, cut the angle iron, cut two tabs, had him weld them to each end to make the angle iron now look like a 'T', drilled mounting holes, then painted it black with some rust preventing paint.
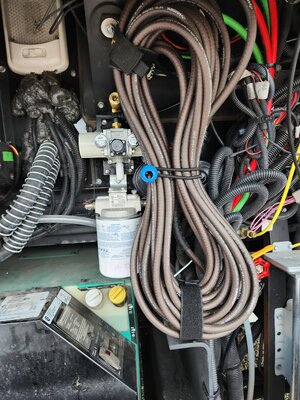
The first picture shows the angle iron mounted with the flat edge on top, to act as a small shelf, as viewed from the opposite bays on the passenger side. You can see where I had to remove the aluminum angle iron that holds the edge of the clear acrylic panels that protects the electrical items. This was then cut down to two brackets to create room for my ladder support to mount flush to the star foundation uprights.
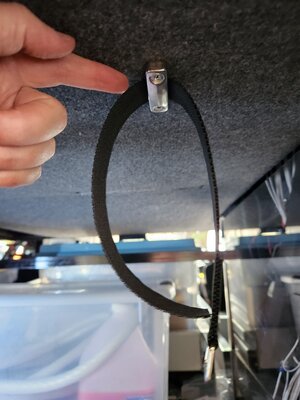
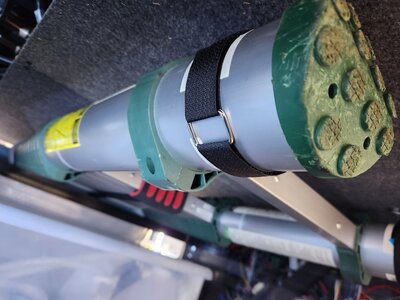
Once that was mounted in place for the top of the ladder to lay down on, I then mounted some velcro based straps to the top of the bay near the doors where each of the ladder's two uprights are.
Now I can easily store my ladder up against the roof of the bay out of the way. Both bins can be removed and stored without worrying about the ladder.
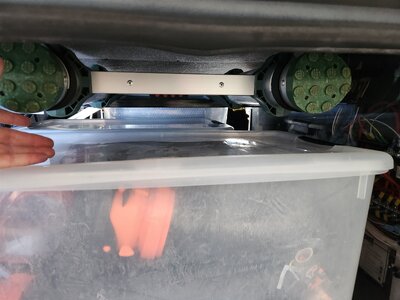
When I want to retrieve and store the ladder I can also leave the storage bins in place. However it is easier if the first bin is removed as the bin furthest to the back can stay in place and act as a ramp to leverage the top of the ladder against when positioning on and off the newly added ladder support angle iron.
Hopefully others find this helpful. Note that I twisted off two self tapping stainless steel screws even though I predrilled the holes. Only use the very best if you don't want to go through the frustration I did dealing with crappy/cheap screws.
Best,
-Mark

