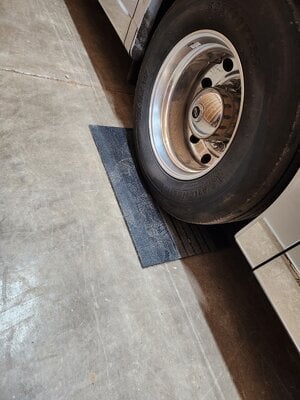
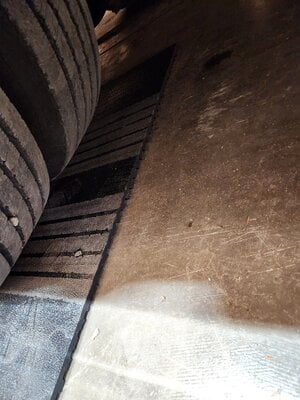
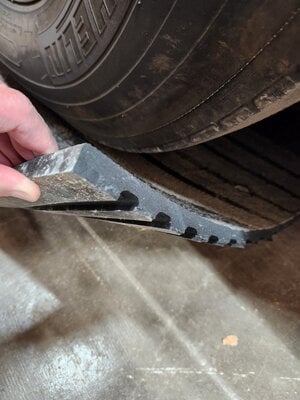
One thing I purchased over the weekend was 2 4' x 6' solid rubber horse stall mats at my local Home Depot. One of those local rural specialty items on an end cap vs. listed online or in their mobile app. I cut them at the 3' halfway point with a box knife with new blade, creating 4 4' x 3' parking pads to go between the tires and the concrete. What I liked about these were the grooves that allowed any moisture to dissipate underneath each pad.
Warning: They are EXTREMELY HEAVY and unwieldy. A two person lift for sure.
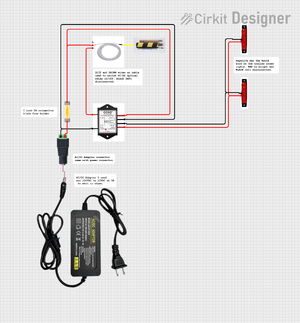
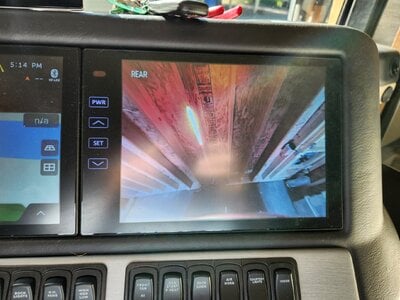
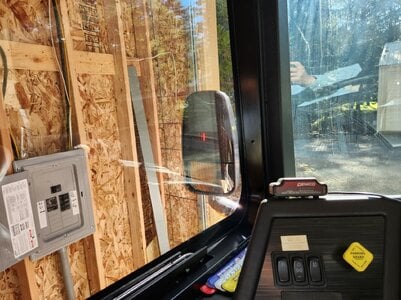
While waiting for painting of the RV Barn, I built a device that lights up to tell me when I need to stop backing up just before I touch the back of the RV Barn. This is a "how I did it" vs. a "how to do it" type of post.
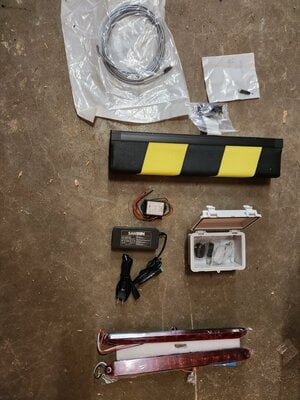
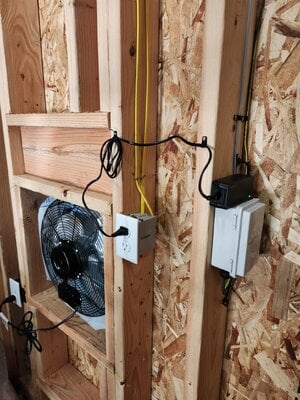
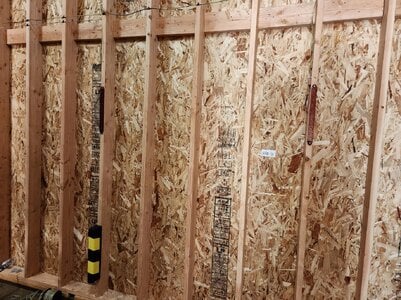
It is pretty simple: I light up two trailer LED brake lightbars (one behind the backup camera and one where I can see it from the driver's side mirror) when my stored TOAD towbar puts any pressure on a commercial safety bar switch installed at the back of the barn. Wiring diagram and components are listed below and the entire project was wired up using Wago connectors. Past the 120VAC/12VDC power supply that plugs into a nearby wall socket, everything is 12VDC low voltage.
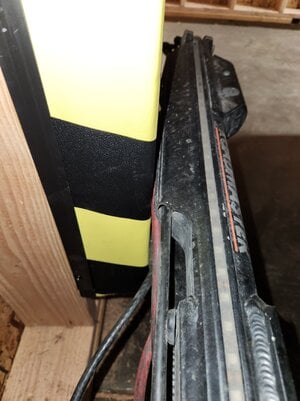
How it works: I installed a high visibility commercial safety bumper contact switch where the tow hitch will touch it before it touches one of the 2x6 wall studs. These safety bumpers will make contact with little compression, but then can compress another inch to two inches before reaching its full compressed state. If one stops before fully compressed then the wall has been saved. The complexity is that you cannot wire the LED brake lights directly to this type of switch as the lights draw much too high of a current when lit and these safety switches want very little current passing through them. A standard relay would also draw too much current and damage the safety switch. The trick is to instead use what is called a DC to DC Solid State Relay to isolate the input and output voltages and currents from each other and draw almost no current on the input side when being activated (unlike a standard coil relay). The safety bumper switch is connected to interrupt the input power to the optical relay and it then uses and internal LED and detector to then switch off and on your main load (which are the LED brake lights). Once the brake lights light up I pull forward just a tad for them to turn back off as to not keep the bumper switch compressed.
As a backup to what you installed, get a 8’ 2x4 and place behind the drive axle. Mark it on the floor. Pull up so you can get to it and anchor it to the floor. The only drawback back is when you sweep the floor. I like redundancy
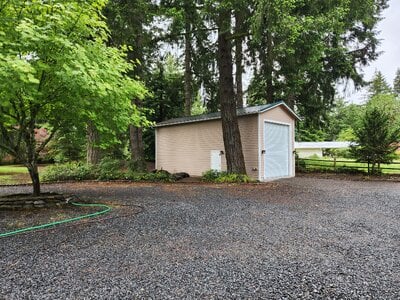
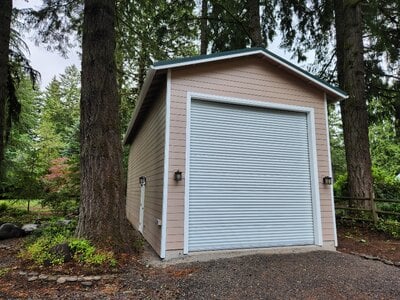
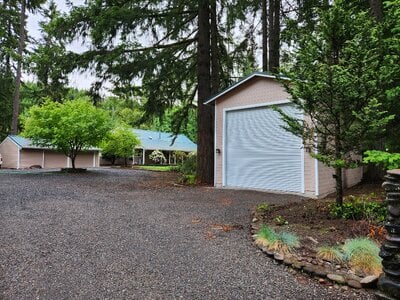
Last of paint and gutter work completed. Have already begun to fill it with ladders, water toys, fishing gear, and the RV still manages to fit! Also finished painting the house and all the out buildings to match. It's a wrap!
This site uses cookies to help personalise content, tailor your experience and to keep you logged in if you register.
By continuing to use this site, you are consenting to our use of cookies.