- Joined
- Feb 18, 2020
- Messages
- 394
- Fulltimer
- No
Evey now and then, when there is a large electrical load, the ceiling lights will flicker and the voltage will drop to 10.1 volts on the panel in the front overhead cabinet. Then it bounces back to 12.6 volts. During the low voltage, the inverter switches to inverting. When the load drops, the inverter goes back to float charging.
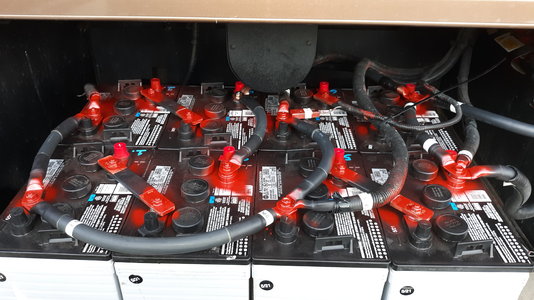
Every month I check the house batteries, clean up the posts and add distilled water as required.
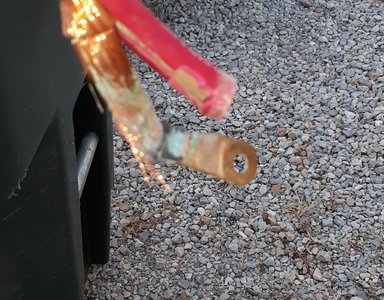
I'm thinking (which gets me in trouble) there's a continuity problem with the battery cables. I've seen cables corrode under the insulation. Would bad battery cables cause the problem I'm having? Or is it something else.
I'm open to any suggestions. TIA
Every month I check the house batteries, clean up the posts and add distilled water as required.
I'm thinking (which gets me in trouble) there's a continuity problem with the battery cables. I've seen cables corrode under the insulation. Would bad battery cables cause the problem I'm having? Or is it something else.
I'm open to any suggestions. TIA