Neal
Administrator
- Joined
- Jul 27, 2019
- Messages
- 14,311
- Location
- Midlothian, VA
- RV Year
- 2017
- RV Make
- Newmar
- RV Model
- Ventana 4037
- RV Length
- 40' 10"
- Chassis
- Freightliner XCR
- Engine
- Cummins 400 HP
- TOW/TOAD
- 2017 Chevy Colorado
- Fulltimer
- No
Follow along with the video below to see how to install our site as a web app on your home screen.
Note: This feature may not be available in some browsers.
 www.prusa3d.com
 www.prusa3d.com
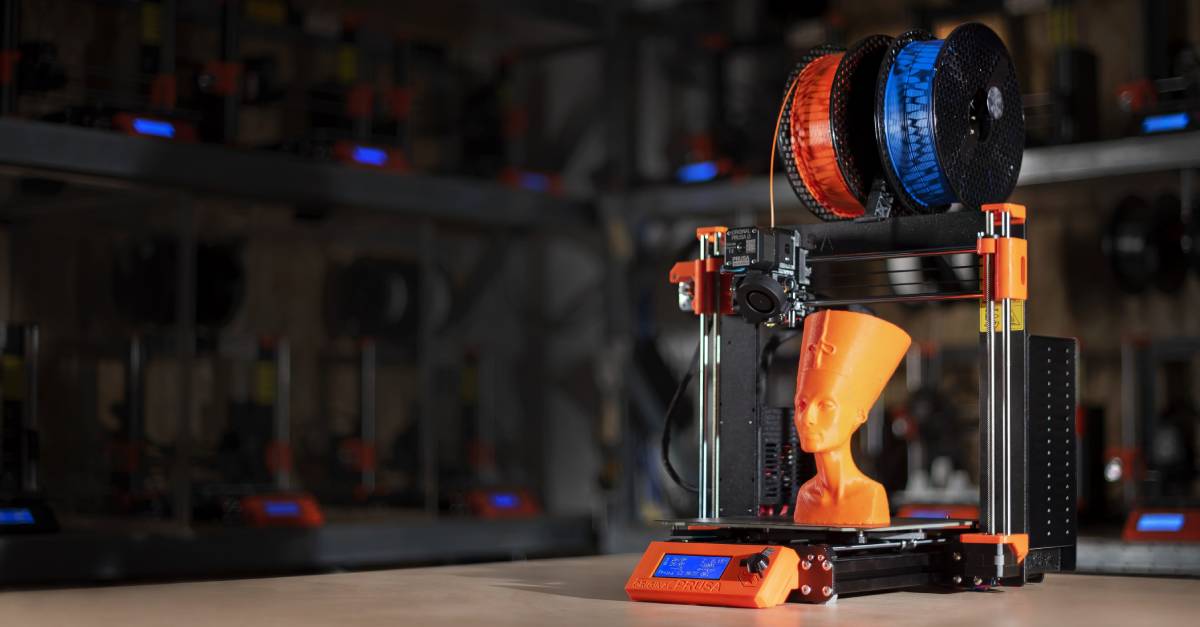
I believe that's the non MMU way, for me the reels will be outside the enclosure. I think for the non MMU reels can certainly reside inside the enclosure and there are spool holders you can print if needed.Morning @Neal Enclosure looks interesting. Couple questions...
Does the filament reel reside inside the enclosure?
Is there room for more than one reel?
Is there a provision for feeding filament through a hole from the back?
Have you finished assembly? If so, what are your thoughts...happy?
Thanks,
Gil
Thanks @Neal for the detailed response...look forward to hearing more about how you like it in use.I believe that's the non MMU way, for me the reels will be outside the enclosure. I think for the non MMU reels can certainly reside inside the enclosure and there are spool holders you can print if needed.
Here are the assembly instructions. I'm a day or two away from completing mine. I had to print a few parts to do the hinged lid conversion and realized I could still use my Prusa printer (didn't care for the results of the other one) as the power supply is just detached but still connected to use. Amazing how nice this printer prints!
Here is the printable parts link if you would need to print anything which I did. It shows the spool in the enclosure.
I think the enclosure is a good concept and typically preferred for printing to keep temps consistent and avoid warping. PLA typically doesn't need an enclosure but ABS, PETG, etc. from what I've heard does. There are other benefits, sound, smell, on top of better 3D printing.
I also bought the LED light strip, seems with each add-on you may opt for it adds work to the build. I'm not sure I'll end up adding the LED strip in the end after reading the instructions. We'll see. As it has been a bit of work I have to admit it's almost been a joy to build.
Yes, PITA. Each time I have to replace, it's like starting over...watch the video and go step by step. It IS satisfying once it is all done and working properly.Noticed my hot end nozzle area was loose, I probably could have fixed it but I decided to replace the hotend, new E3D kit just came. Pain the buttocks but done, first layer cal finally good after multiple tries. I hate lowering the nozzle but that's what it took.


