Welcome to RVForums.com

  • Register now and join the discussion
  • Friendliest RV Community on the web
  • Modern site for PC's, Phones, Tablets - no 3rd party apps required
  • Ask questions, help others, review campgrounds
  • Get the most out of the RV Lifestyle
  • Invite everyone to RVForums.com and let's have fun
  • Commercial/Vendors welcome

Fender completely ripped off

Welcome to RVForums.com

  • Register now and join the discussion
  • Modern secure site, no 3rd party apps required
  • Invite your friends and let's have fun
  • Commercial/Vendors welcome
  • Friendliest RV community on the web
You could:
Measure the arc of the old fender when properly applied to the RV.
Put the old fender ontop of some FRP that can be purchased from HomeDepot (panelling department) and recreate the arc dimension. Draw the inside line to what will be touching the RV panel (the white area). Cut the outline out with a right angle grinder. Cut on the line so it's slightly smaller than the fender.
Use the grinder and rough up the side facing the fender. Use "DuraGlass" and "glue" the FRP to the backside of the fender ensuring the Arc is same as measured. Glue on old tabs, matched to the fender breaks before the DuraGlass cures. DuraGlass is like body plastic, but with some fiberglass in it for super strength.
When dry, drill the tab holes through the FRP.
Reapply to the RV with the original screws. Other than it will be slightly proud of the RV side, it will look like new and will be stronger than original.

This is a 3 hour fix.

A simpler fix, if you don't care that the fender flare is removable, crazy glue the tabs to their position on the fender, rough up the white area with a flap wheel on the right angle grinder, and just Duraglass the old broken flare right to it. Lightly put the screws into the brackets until all is cured.
This is a 1 hour fix.
 
Still waiting to hear how it happened in the first place? :)
Me too! Previous owner briefly told us it came off and they stuck it in one of the bins.
 
Use "DuraGlass" and "glue" the FRP to the backside of the fender
Very good details. Thanks for the thorough response.

Your mention of "DuraGlass" (had to look it up) makes me want to add another question to this:
I have a hole on the side of the RV that needs patching. (I have so many questions about this RV, I'm having to trickle them on here). It's about 3" by over a foot in size.

So when I go to tackle that project, I'll need to purchase some product. Would "DuraGlass" be useful for that project also?
Take a picture of the damage
 
Very good details. Thanks for the thorough response.

Your mention of "DuraGlass" (had to look it up) makes me want to add another question to this:
I have a hole on the side of the RV that needs patching. (I have so many questions about this RV, I'm having to trickle them on here). It's about 3" by over a foot in size.

So when I go to tackle that project, I'll need to purchase some product. Would "DuraGlass" be useful for that project also?
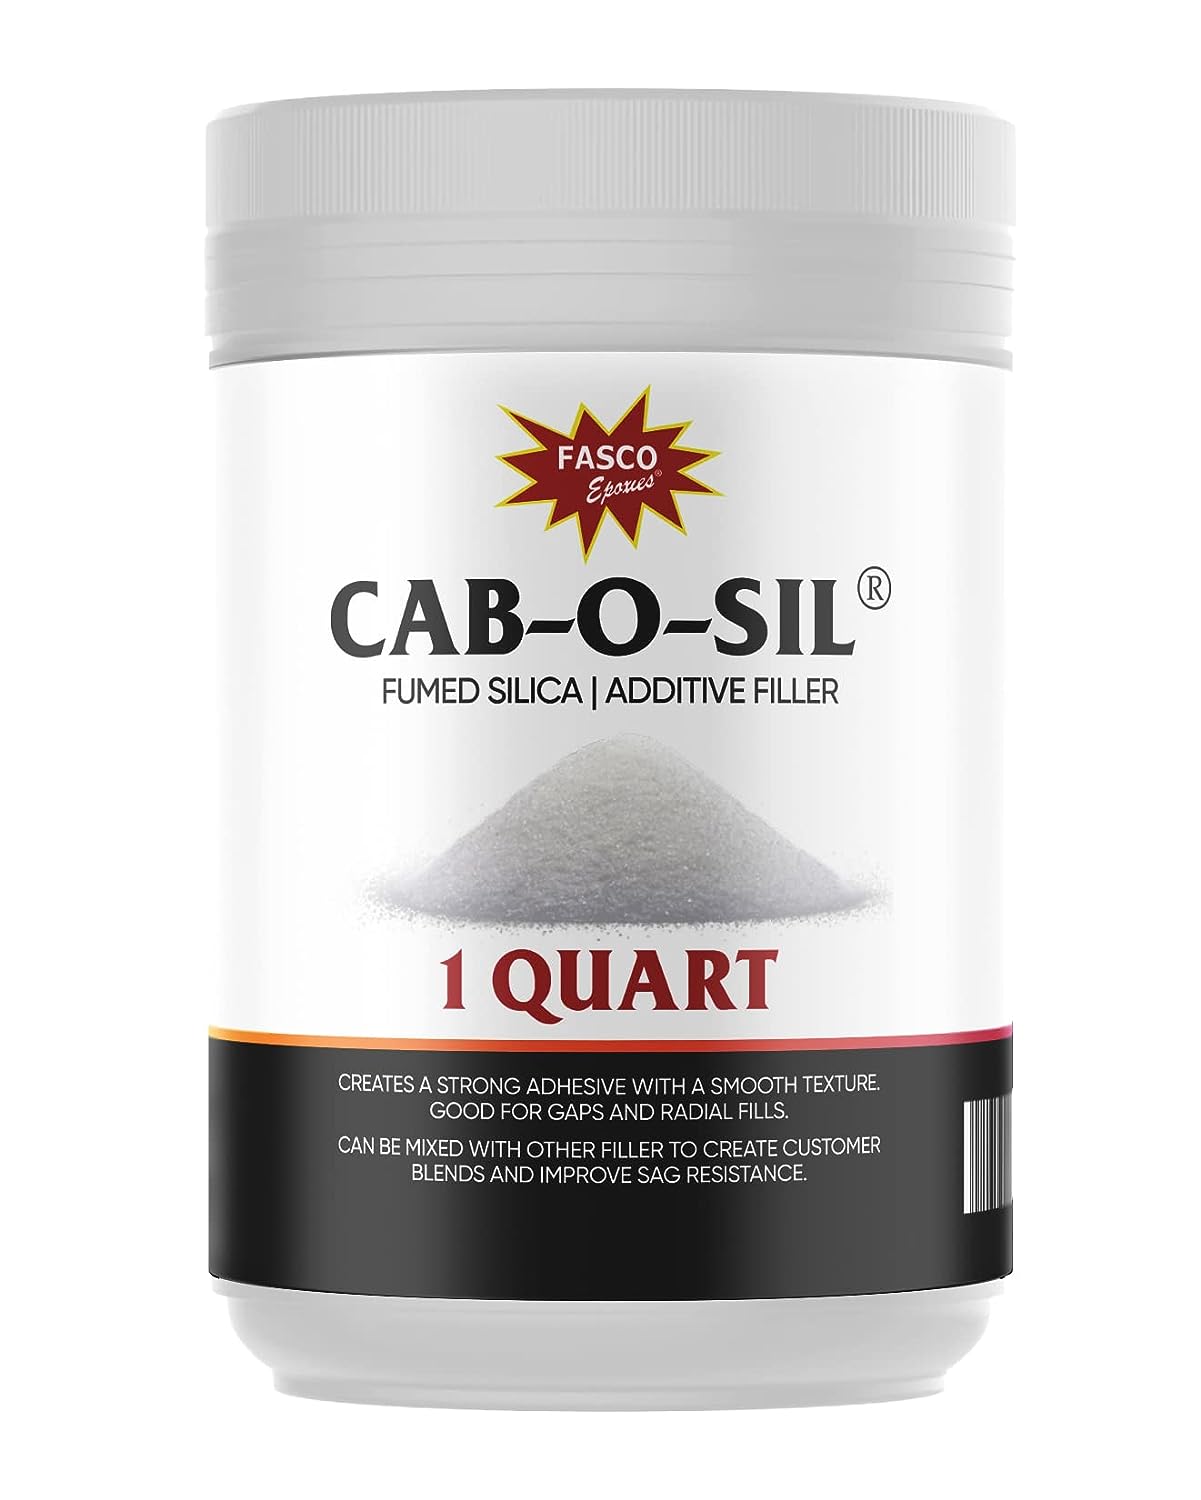
Without seeing the damage, that sounds more like a fiberglass cloth / resin repair. Duraglass is good to fill voids (like between the flare and the body). Fiberglass is better to larger gaps without adding much weight. You would need to put some wood / foam as a form for the wet glass until it hardens.
 
Take a picture of the damage
hole.jpg

Here's that damage. It was a problem I was going to tackle another day (as I mentioned, I have many questions, but am trying to not post too many at a time).

But since it could be related, it might help me decide what products to be purchasing for that fender repair.


BTW, @Jim , and others curious on the story behind this one. I know this one FIRST HAND:
  1. New RV owner
  2. 34 foot class A
  3. Parked VERY close
  4. Quickly learned what "tail swing" meant...the hard way
 
View attachment 22443
Here's that damage. It was a problem I was going to tackle another day (as I mentioned, I have many questions, but am trying to not post too many at a time).

But since it could be related, it might help me decide what products to be purchasing for that fender repair.


BTW, @Jim , and others curious on the story behind this one. I know this one FIRST HAND:
  1. New RV owner
  2. 34 foot class A
  3. Parked VERY close
  4. Quickly learned what "tail swing" meant...the hard way
Ok for that gash, You would take the flap wheel and clean up the whole area almost up to the stripe. Make a bevel around the cracks. Can you get behind that damage? Let's assume you can't. cut 4 layers of random direction fiberglass (HomeDepot) that are progressively larger. The smallest fits into the cracks in the hole. Just brush some activated resin all around and in the depression (that's not a hole...because there is material there you can use to support the wet fiberglass)...then place the smallest piece of glass in the depression. More resin till the glass is near clear. Then another layer. Finally the last two pieces are larger than the cracked area and into the depression you ground. Let it all dry. Flap wheel it flat. Use body plastic (not Duraglass) to smooth it all out. Switch to flat sandpaper (60 then 100 then 200 then 400 grit as all gets level and smooth) on a sandpaper block (to unsure it's flat). You will need multiple coats of body plastic.

Use spot putty and skim coat to fill pinholes. Dry. Wet sand with 400.
prime, sand, paint, clear coat larger than damage area to blend.

if you don't have paint equipment, you might want to bring the prepared RV to a body shop and let them do that.
 
So put a straight edge over the damage to see how depressed the area is. That way you know how much glass you need. Matt is easier to blend. If foam is exposed you may be able to use west systems epoxy. Polyester resin will melt most foam, but test epoxy on a location that won't be hurt if the foam disappears. Epoxy uses equal amounts of the two parts.

Save a bunch of time by placing polyethylene plastic over the epoxy and squeegee flat.

Note that flat surfaces are very difficult to hide bodywork. Sanding primer (several coats, Sanding between coats) will get rid of that very hard to get rid of edge that many don't know how to hide. Any Sanding should be done with a body Sanding board.
 
That gash will require some actual bodywork. I suggest using fiberglass "gel" instead of resin. Resin is awful on vertical surfaces, it always wants to drip down. Gel (any parts store) on application doesn't sag on application and acts more like body filler. It doesn't penetrate fiber cloth as well as resin though, an important consideration for repairs that are more structural than just cosmetic. For the fine finish work you will want to use some actual body filler on top of your fiberglass, so leave the fiberglass dished in just a tiny bit. You can sand it back if needed.
I've seen where Bondo (at least) now sells small tubes of their filler and some activator just for small repairs. If that single gash is all you need to fix one or two of those might be better than buying a big can. Cans will go "bad" over a long time.
 

Latest resources

Back
Top