Jim
RVF Supporter
- Joined
- Dec 18, 2019
- Messages
- 4,806
- Location
- North Carolina
- RV Year
- 2020
- RV Make
- Newmar
- RV Model
- Essex 4543
- RV Length
- 45
- Chassis
- Spartan
- Engine
- Cummins / I6 Diesel Pusher 605HP
- TOW/TOAD
- 2016 Jeep Rubicon
- Fulltimer
- No
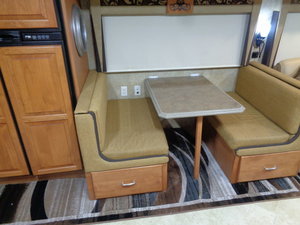
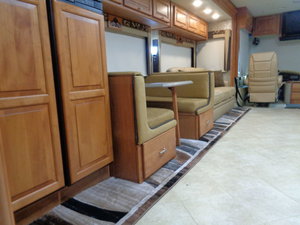
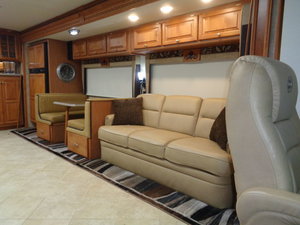
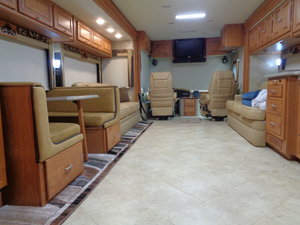
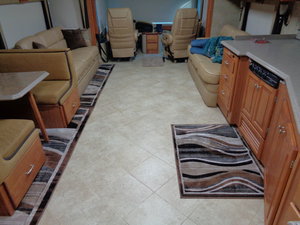
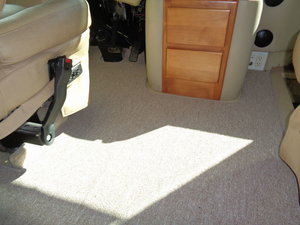
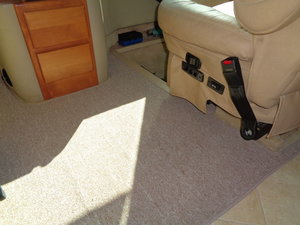
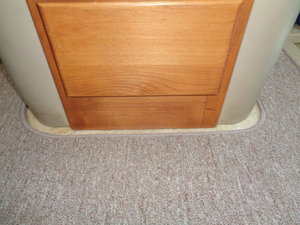
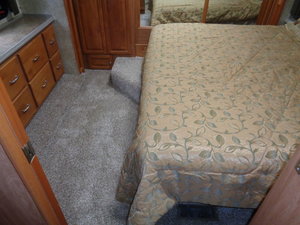
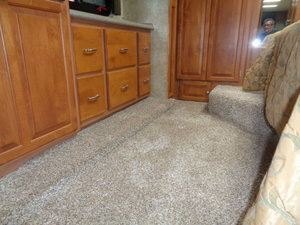
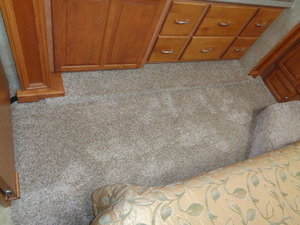
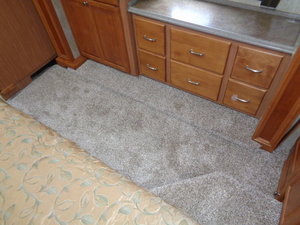
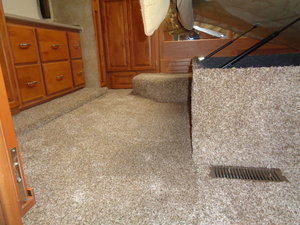
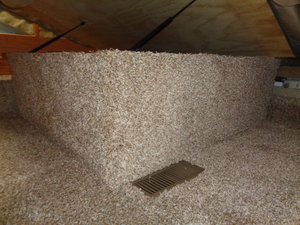
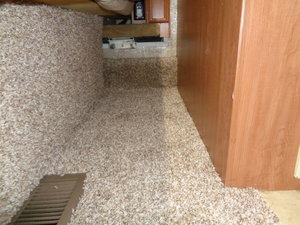
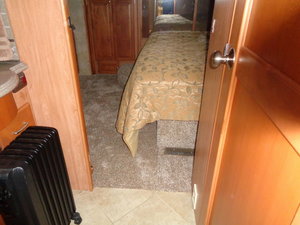
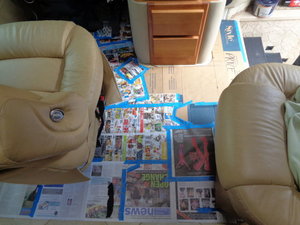
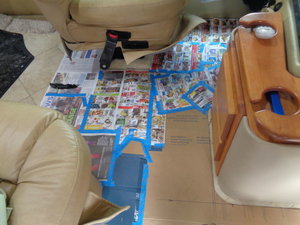
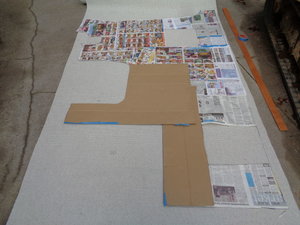
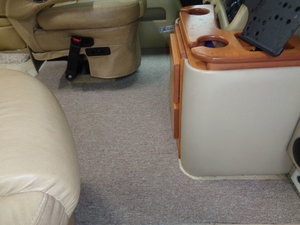
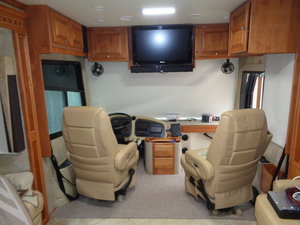
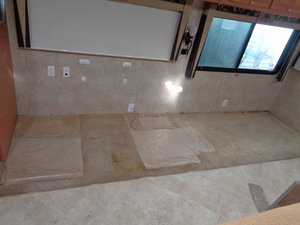
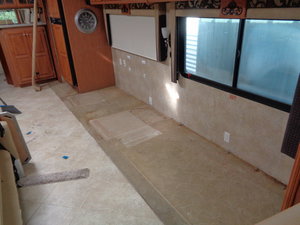
Got the bedroom carpet finished up today.
There were a gazillion corners, angles and tough-to-get-at places to deal with. And the irony of it is there is only about 40' of floor space that you actually see and walk on, the rest is on the sides of the bed pedestal, between the bed pedestal and the wall, around the closets, etc.
But it's done now and no matter where you look, the carpet looks great!
Attachments
Last edited:


")