Jim
RVF Supporter
- Joined
- Dec 18, 2019
- Messages
- 4,806
- Location
- North Carolina
- RV Year
- 2020
- RV Make
- Newmar
- RV Model
- Essex 4543
- RV Length
- 45
- Chassis
- Spartan
- Engine
- Cummins / I6 Diesel Pusher 605HP
- TOW/TOAD
- 2016 Jeep Rubicon
- Fulltimer
- No
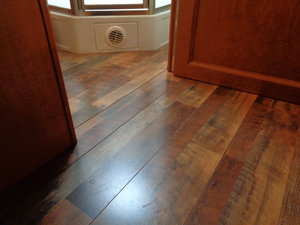
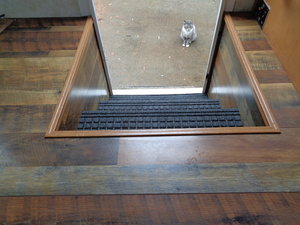
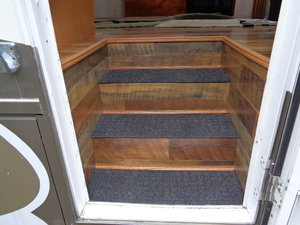
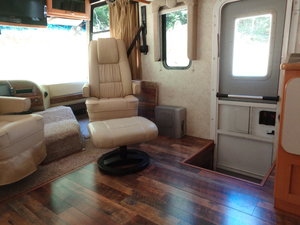
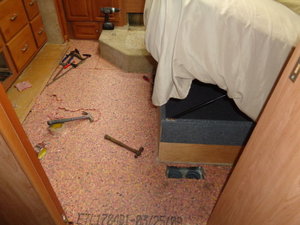
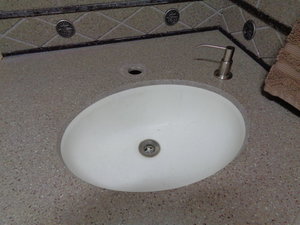
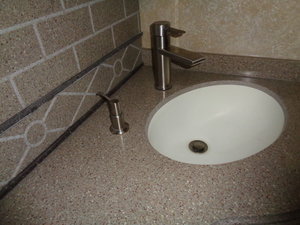
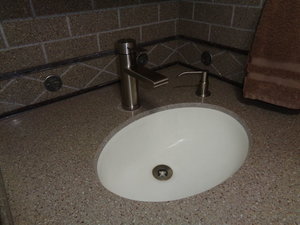
Another lousy day, weather wise anyway. Pulled out and replaced the old faucets with some that Trish (My Wife) couldn't live without. I rate plumbing right up there with smashing my fingers, but this went smoothly enough. Well, as good as can be expected when you try to put a 6'1", 235lb man inside a tiny little cabinet. 
So yeah, I see the pictures didn't turn out with a darn. That's because the pictures are of a plumbing project, and because I suck at plumbing projects, I should have realized the pictures would suck too.")
So yeah, I see the pictures didn't turn out with a darn. That's because the pictures are of a plumbing project, and because I suck at plumbing projects, I should have realized the pictures would suck too.
")