Welcome to RVForums.com

  • Register now and join the discussion
  • Friendliest RV Community on the web
  • Modern site for PC's, Phones, Tablets - no 3rd party apps required
  • Ask questions, help others, review campgrounds
  • Get the most out of the RV Lifestyle
  • Invite everyone to RVForums.com and let's have fun
  • Commercial/Vendors welcome

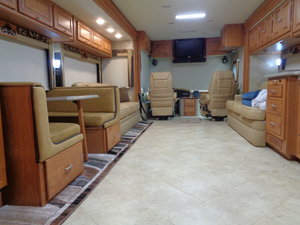
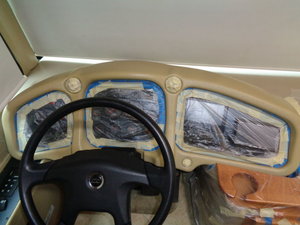
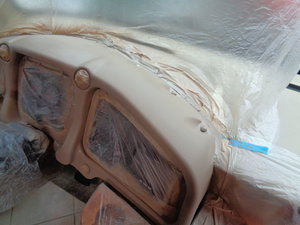
My 40' Tiffin Phaeton QTH

Welcome to RVForums.com

  • Register now and join the discussion
  • Modern secure site, no 3rd party apps required
  • Invite your friends and let's have fun
  • Commercial/Vendors welcome
  • Friendliest RV community on the web
I guess we are much alike. Great Job!
 
I guess we are much alike. Great Job!
I had heard there were a couple of people who were crazy enough to make an old coach into a new one. You must be that other guy?
 
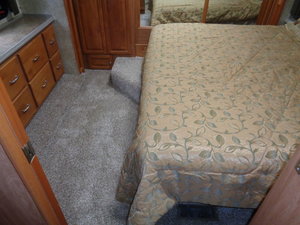
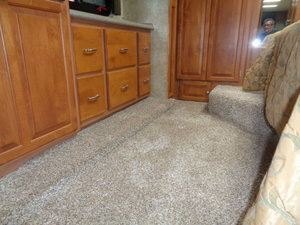
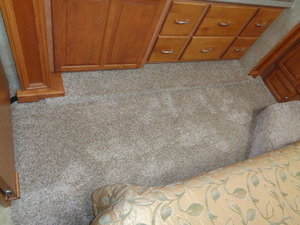
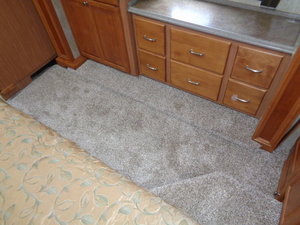
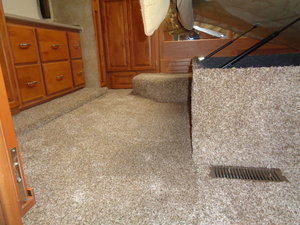
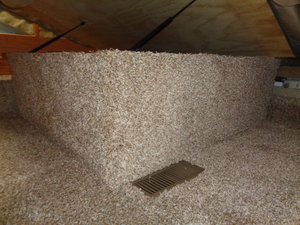
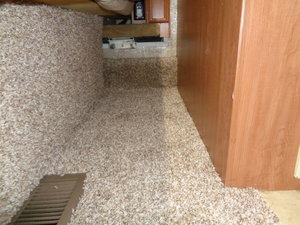
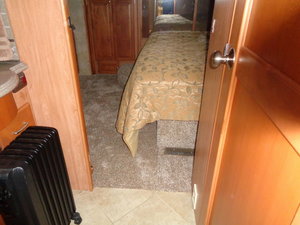
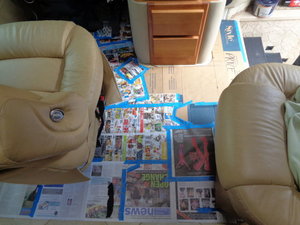
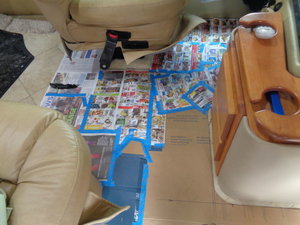
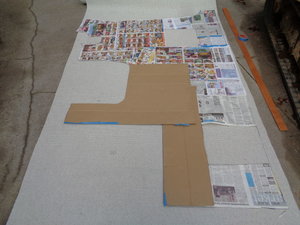
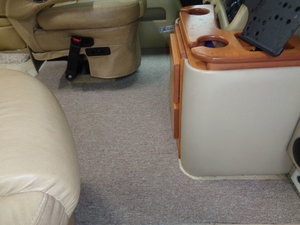
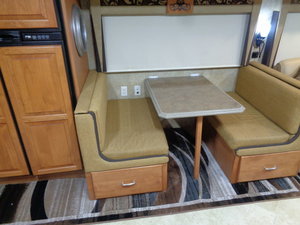
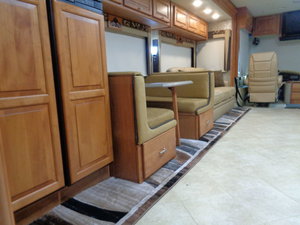
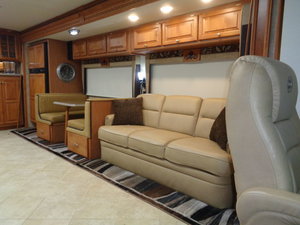
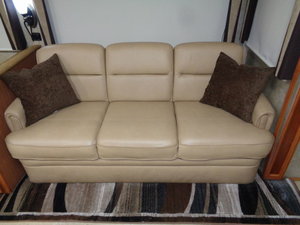
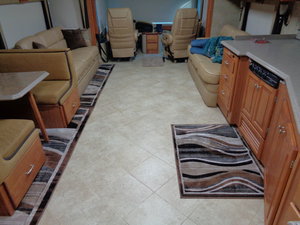
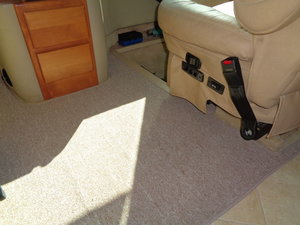
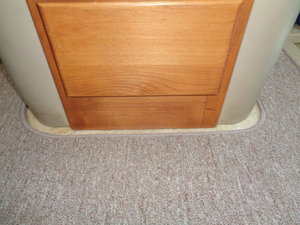
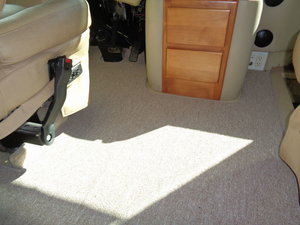
Yesterday we picked up the carpet that we had bound. It came out nicely!
 

Attachments

  • DSC03287.JPG
    DSC03287.JPG
    96.4 KB · Views: 33
  • DSC03288.JPG
    DSC03288.JPG
    97 KB · Views: 32
  • DSC03296.JPG
    DSC03296.JPG
    112.1 KB · Views: 25
Very nice rig Jim. I like the colors. For me doing the mods/improvements is part of the fun. Always like to head to the garage to mess with something. Enjoy it!
 
Looks like you used an area rug with bound edges for under the sofa. Great idea to get the finished edge easily. Like the abstract pattern also! Nice job!
 
Looks like you used an area rug with bound edges for under the sofa. Great idea to get the finished edge easily. Like the abstract pattern also! Nice job!
lol, yes I did. Finding carpet with a design was proving difficult. Buying a couple of area rugs that were the right length made it possible to have the design we were looking for and have the leading edge already-bound.

At the end-of-the-day, it would have been sooo much easier to put down a single piece of nondescript carpet. But we really wanted something with a bit more flare. It was a tough decision as a single piece of carpet was about $100, where the area rugs were closer to $400. It takes courage to cut into a beautiful rug that you know will now become useless for anything other than to show off 12" of its leading edge. o_O
 

Attachments

  • 84802675_2806107566102003_2999786656254394368_n.jpg
    84802675_2806107566102003_2999786656254394368_n.jpg
    70.4 KB · Views: 24
I actually made this improvement a few months ago, but figured I better add it to the list. Several knobs on the cabinet doors (on the passenger side) were poorly aligned. Probably not a big deal to most people but for me it was a source of constant irritation. So like most seasoned married men of my age, I turned a 30 minute job into a several beer endeavor.

But my OCD will rest easier. . .
 

Attachments

  • Cabinet 1.JPG
    Cabinet 1.JPG
    70.8 KB · Views: 26
  • Cabinet 2.JPG
    Cabinet 2.JPG
    69.2 KB · Views: 25
Ok. So now I know that I’m not the only one with OCD here. Whew! One of my moments was that the gaps on my baggage doors were all over the place. A few hours later and they are all uniform. There’s a long list of the little things that I couldn’t stand looking at.
 
Today I joined the "ceiling tile sink mod club"! :) Thank you @lostinfla for the idea. For better or for worse, I pained it silver to better match the sink.
 

Attachments

  • DSC03318.png
    DSC03318.png
    693.4 KB · Views: 32
  • DSC03320.JPG
    DSC03320.JPG
    119.6 KB · Views: 34
  • DSC03341.JPG
    DSC03341.JPG
    119.3 KB · Views: 29
  • DSC03335.JPG
    DSC03335.JPG
    120.4 KB · Views: 31
  • DSC03348.JPG
    DSC03348.JPG
    134.7 KB · Views: 25
Last edited:
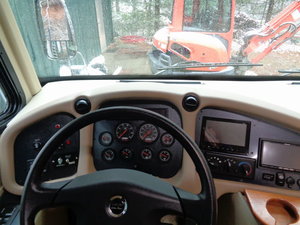
Trish needed a better place to store her under-sink stuffs, and per Neal's recommendation, I looked at the Rev-A-Shelf on Amazon. My first impression was that they were a little expensive for what they are, but I went ahead and ordered a pair of them. They arrived the other day and I just finished the installation.

I'll say this. If you need some nice looking, easy to install under sink shelves, these are the ones you want. And at $46.00 each, it's money well spent. Installation involves putting in 8 furnished screws, 4 of which go into pre-dirlled holes in the shelf and 4 that hold the shelf to the cabinet door. Takes about 20 minutes max.

Amazon link
 

Attachments

  • DSC03492.JPG
    DSC03492.JPG
    78.4 KB · Views: 32
  • DSC03493.JPG
    DSC03493.JPG
    86.3 KB · Views: 32
Last edited:
Latest resources

Back
Top