Welcome to RVForums.com

  • Register now and join the discussion
  • Friendliest RV Community on the web
  • Modern site for PC's, Phones, Tablets - no 3rd party apps required
  • Ask questions, help others, review campgrounds
  • Get the most out of the RV Lifestyle
  • Invite everyone to RVForums.com and let's have fun
  • Commercial/Vendors welcome

Ridiculously cheap, ridiculously easy mods to consider

Welcome to RVForums.com

  • Register now and join the discussion
  • Modern secure site, no 3rd party apps required
  • Invite your friends and let's have fun
  • Commercial/Vendors welcome
  • Friendliest RV community on the web
But if you're the one placing the magnets, I see no reason why you couldn't install the drip-tray, then install the magnets maybe a 1/2" lower or whatever so that the top of the magneshade starts at the bottom of the drop tray which is at the very top edge of the windscreen.

That might work. Will have to look at it; once I get to the sunny,warm confines of Florida!:giggle:

Allan
 
The problem is you won't be able to get the bottom magnets where they need to be. Imagine the material designed for the shape of your windshield. Now you lower it you can't get the bottom magnets lower than the dash so you won't get a good alignment at the bottom. My top left/right magnets are as high as they can go as they hit the overhead panel, my bottom magnets are as low as they go as they hit the dash. You don't have room to play, in my opinion.
 
Neal, you beat me to it. Exactly correct. Now if you order a Magneshade, you could have them make it 1" less in height, but for those who have them already, it's a moot point. I'm putting my "gutter" on the paint above the windshield. I had already removed the top cap Newmar badge (front and rear) and installed my NKK numbers in place on the front. Unfortunately, I now have to remove and order new numbers as I mounted them as low as possible. As you can see, I really don't have a problem with streaks off the top...:rolleyes: Just waiting to clean the top next week so I didn't worry about how it looks now.

20200106_132404.jpg
 
Any tips on removing that Newmar badge? That sounds like a viable option.
 
Any tips on removing that Newmar badge? That sounds like a viable option.
It is a bear. I used the 3M remover liberally and 4 thumb nails. The goo they stick them on with is pretty stout, but then again, you got nothing else to do....:ROFLMAO:
On mine, it left a slight silhouette of the shape, but I removed a lot of that with scratch remover. I almost think mine had the clear touched up with the logo's already on leaving a slight impression. The numbers in the front camo it also.
Heat gun might help a bit.
 
I'm hoping I can attach to the seal above the glass and mitigate the problems. I don't think removing the logo is going to be an aesthetic winner at this point.
 
BTW, here's a few small cheap mods I've done that have made our time in the coach better. First off, I hated that I couldn't see the controls for slides etc. without an external light. I tried motion lights to no avail, so I pulled the panel and redesigned it. Made the holes bigger and installed a couple of cheap LED strips behind to show through the labels on the panels. They are actuated by a magnetic switch on the door. Before and after pics.
View attachment 681View attachment 682

Next, we were looking for a dish drainer that would fit in the small sink. Got a piece of ceiling grid from Lowes and cut it to fit the top lip of the sink.

View attachment 683

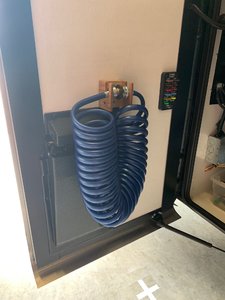
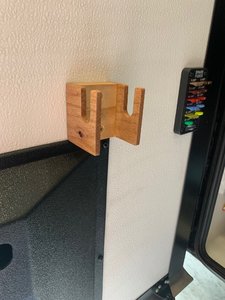
Always looking for an extension cord outside and it's never where I left it... 40' recoil cord mounted in basement with 4 plex receptacle.

View attachment 684

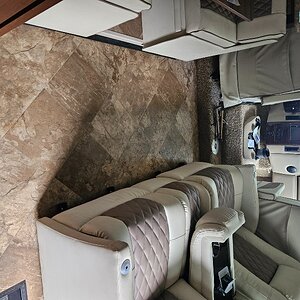
Don't know why Newmar installs two drink holders on the drivers armrest which moves the shifter back too far to use easily. Another trip to Lowes for some Oak cabinet material (they didn't have maple) covered the armrest and re cut the holes to move everything up. Also installed the window switch below on the vertical to clean things up. I put a small foldout drink holder on the dash. Also a chip clip on the park brake so it isn't disengaged by mistake.

View attachment 685

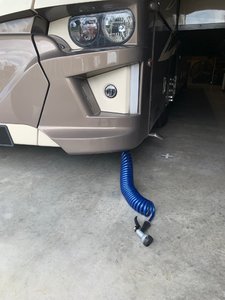
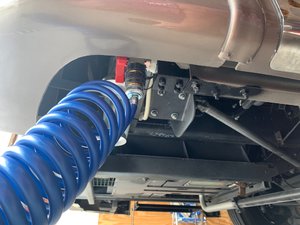
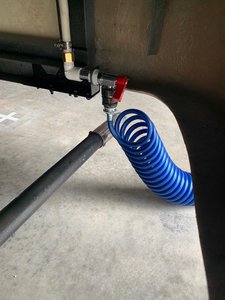
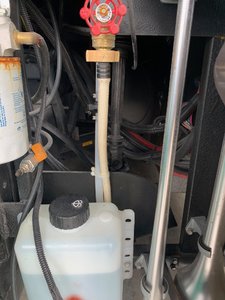
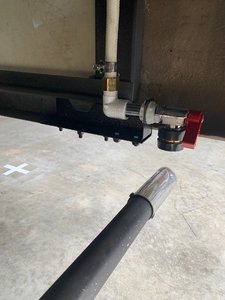
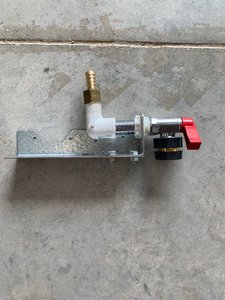
Water bay faucets with flush hose and timer, SeeLevel monitor, and quick disconnect for the hot cold mixer. Shower head has fitting also.

View attachment 686

I know there's a bunch more, but we're on the roof today doing a re seal.:rolleyes:
Would you mind sharing the parts/pieces that make up the hot/cold water control? Thanks
 
Thank you very much. Did you buy a different molded plastic piece to mount the faucets to? Thanks again.
 

Latest resources

Back
Top